


Game Boy Advance ITA TFT Backlight Kit with Laminated Lens and OSD - FunnyPlaying
Game Boy Advance ITA TFT Backlight Kit with Laminated Lens and OSD - FunnyPlaying
Regular price
$59.99
Regular price
Sale price
$59.99
Unit price
per
Shipping calculated at checkout.
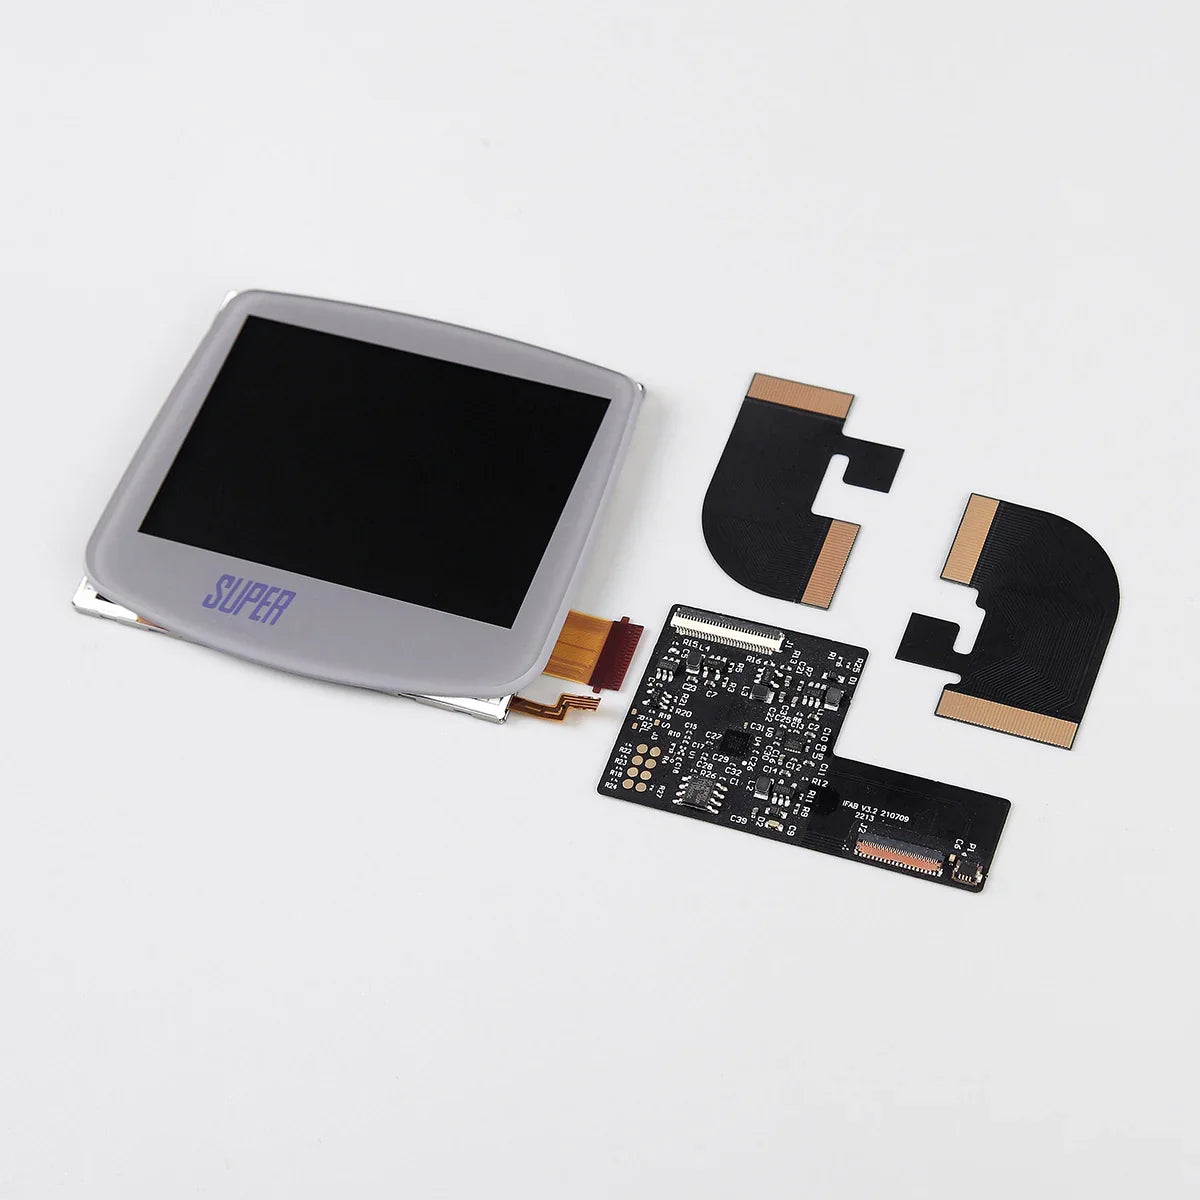
The Laminated ITA Kit for Game Boy Advance from FunnyPlaying.
**This kit ONLY pairs with these shells from FunnyPlaying.
FEATURES:
- An ITA screen and glass lens all in one piece.
- Applicable console text is present on lens.
- Console text is silver on Black and White variants.
- Adjust brightness with touch sensor or button inputs.
- Long touch the touch sensor for OSD menu.
- OSD menu options include brightness (BRT), Frame Blending option (FRM), and X/Y axis adjustment (XST, YST).
INCLUDED:
- 1 x ITA LCD with lens adhered (see warnings) and PCB ribbon cable attached
- 1 x 32 pin ribbon with touch sensor
- 1 x 40 pin ribbon with touch sensor
- 3 x Wires
- 1 x Bracket
PAIRS WELL WITH:
- Game Boy Advance IPS/ITA Laminated Shell - FunnyPlaying (ONLY pairs with this shell)
- Game Boy Advance Silicone Membranes - FunnyPlaying
- Game Boy Advance Buttons - FunnnyPlaying
DOCUMENTATION:
NOTES:
-
Only pairs with the Replacement Shell for Game Boy Advance - IPS Laminated - Funnyplaying. Other other shells require extensive trimming. Refunds/replacements are not accepted if the incorrect shell is used.
- If you received a bracket that looks different from the one in the product photo, do not proceed with install and please reach out to our support team.
- Port on ribbon cable may be in different direction depending on variant. Please see install guide (not video) for further instructions.
- 40-pin Consoles need to remove the C54 capacitor.
- Long press touch sensor (two seconds) to enter OSD menu or hold Select, L, and R if you have soldered those wires. Enter the menu and press and hold for one second to switch the selection.
- To use the screen adjustment in the OSD menu, you will need to solder the Select, L, and R wires. Hold these buttons for 3 seconds and you will see a green line on the left and right to show adjustment mode. Then if you hold L/R/Select again, you will see green lines on the top and bottom to show this adjust mode. L/R/Select one more time will close out of the adjustment menu.
- After installation, if it is noted that your touch sensor is overly sensitive or is cycling, please see this article for assistance.
WARNINGS:
- You do not need to purchase a separate lens. Removing pre-adhered lens from LCD can result in damage to the LCD and will void product warranty. If you received an extra lens in your order, this was likely a included plastic lens with a shell and should NOT be placed on top of the pre-adhered lens.
-
Test before installation! When you receive a backlight/LCD kit, you should perform a dry run before installing to assure that nothing has been damaged in transit. A dry run or test fit means the kit is not installed in the shell. This includes the use of adhesives, brackets, and any performed soldering. All ribbon cables should have no bends or creases in them. If you are unsure how to perform a dry run, please contact our support team and we will be happy to help. Backlight kits that have been installed are not eligible for replacement or return.
- LCD may break if put under too much pressure or dropped. Please exercise extreme caution when installing.


- Choosing a selection results in a full page refresh.
- Opens in a new window.