


Game Boy Advance 3.0 V5 IPS Backlight Kit - Hispeedido
Game Boy Advance 3.0 V5 IPS Backlight Kit - Hispeedido
Regular price
$59.99
Regular price
Sale price
$59.99
Unit price
per
Shipping calculated at checkout.
This IPS LCD kit for your Game Boy Advance (GBA) is a solderless display that fits in the display window of an OEM console without the need for a special sized lens. It includes all the features of the standard V2 kit including color palettes and brightness adjustment VIA pre-soldered touch sensors.
FEATURES:
- 720x480 display resolution HD IPS LCD. 9 pixels to 1 pixel.
- Wide View angle up to 178 degrees.
- 8 color palettes VIA pre-soldered touch pad.
- Retro pixel Effects: Normal, Retro pixel, Scanline 1, Scanline 2
- 15 brightness levels VIA pre-soldered touch pad and/or VIA the traditional Select/L/R buttons by soldering the included wires.
- Desaturation from 0 to 20. Desaturation=20 is normal color. Desaturation=0 is black & white.
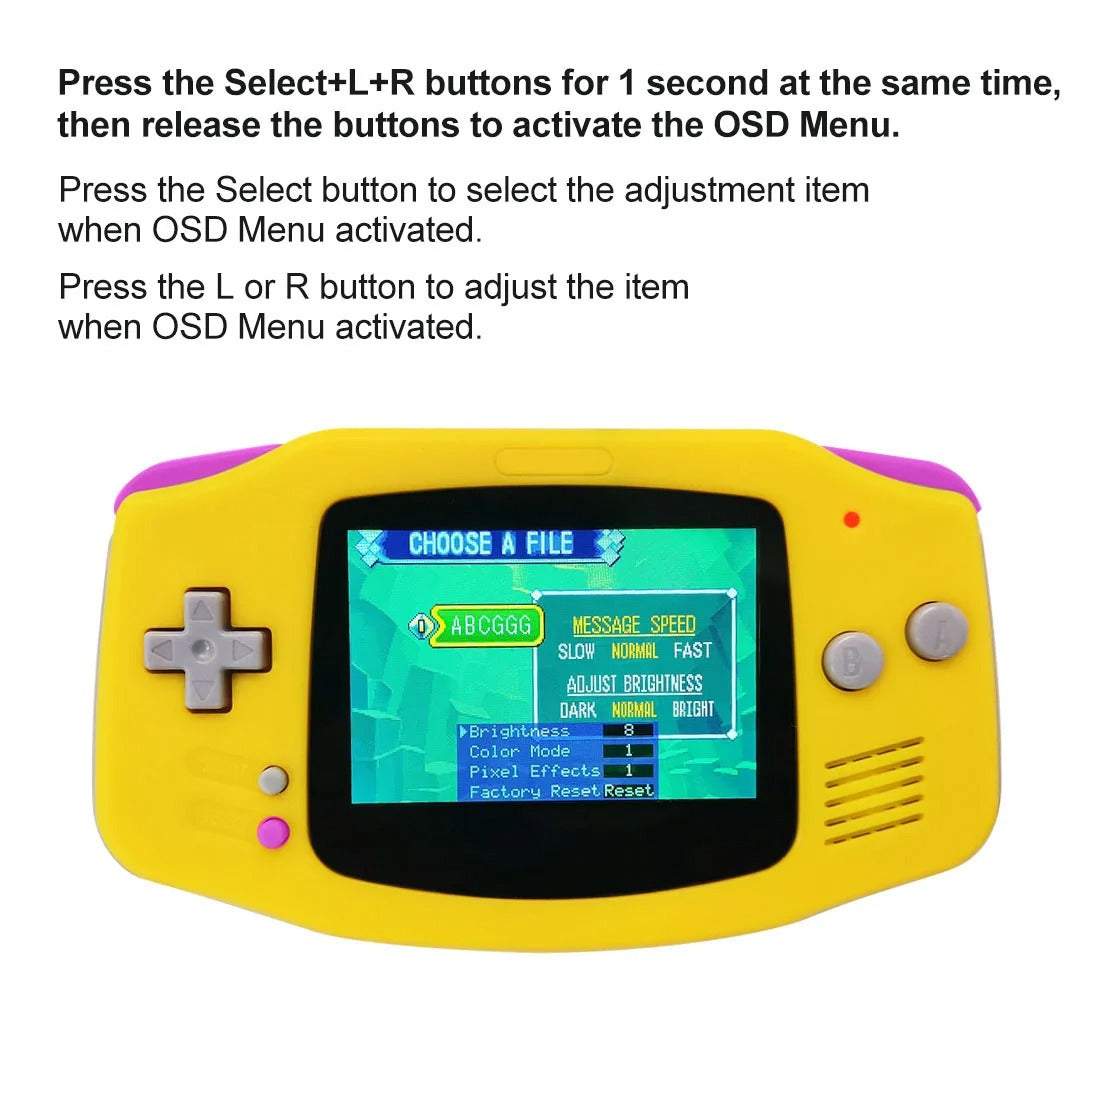
- On-screen-display (OSD) menu VIA the Select/L/R buttons by soldering the included wires.
- OSD menu includes 8 color options, 15 brightness levels, 4 pixels modes, Desaturation adjustment, frame (FRM) blending, and option to turn off touch sensor functions.
- This display size is windowed like the original size. IPS lenses are not compatible with this kit.
- This kit's LCD display size is not enlarged like other IPS kits which makes it perfect for your OEM lens.
- Minimal shell trimming may be required. See install guide.
- Compatible with both 40 and 32 pin models.
INCLUDED:
- 1x IPS LCD
- 1x PCB with two pre-soldered touch sensor wires
- 3x Wires
- 1x 40 pin ribbon
- 1x 32 pin ribbon
- 1x Set of acrylic spacers (Not needed if using custom bracket or adhesive)
- 1x Large spacer adhesive
- 1x LCD adhesive (optional if using spacers or brackets)
- 2x Insulation films
PAIRS WELL WITH:
- Game Boy Advance Shell
- Game Boy Advance Tempered Screen Lens - Original Size
- Game Boy CleanAmp v1.1 Audio Amplifier
DOCUMENTATION:
NOTES:
- After installation, if it is noted that your touch sensor is overly sensitive or is cycling, please see this article for assistance.
- LCD mounting adhesive seen in photo will either be red, blue, or white, the function does not change.
USING THE OSD:
- To enter the OSD menu, simultaneously press and release the Select/L/R buttons.
- To cycle through the menu options, press select.
- Left and Right triggers change the settings for the menu option currently selected.
- To close the OSD menu, simultaneously press and release the Select/L/R buttons.
WARNINGS:
-
Test before installation! When you receive a backlight/LCD kit, you should perform a dry run before installing to assure that nothing has been damaged in transit. A dry run or test fit means the kit is not installed in the shell. This includes the use of adhesives, brackets, and any performed soldering. All ribbon cables should have no bends or creases in them. If you are unsure how to perform a dry run, please contact our support team and we will be happy to help. Backlight kits that have been installed are not eligible for replacement or return.
- LCD may break if put under too much pressure or dropped. Please exercise extreme caution when installing.


- Choosing a selection results in a full page refresh.
- Opens in a new window.